When creating an online survey appointment request form, ensuring clarity, ease of use, and effective scheduling is key to success. To help you build a highly efficient appointment system, here are some crucial details and effective measures to focus on. These will ensure participants can easily understand the form, quickly complete their appointments, and have a positive experience.
Part 1. Basic Logic of Designing Appointment Request Form
To create an effective appointment request form, the first step is to clearly define the purpose of the form. The title should be straightforward, making it instantly clear that this is an appointment request. Next, the form should provide a brief background explanation that describes the appointment process, including what the appointment is for and any specific requirements. This step is crucial because many overlook the importance of clear descriptions, which can lead to user confusion and form abandonment. Additionally, the form’s design should be simple and intuitive, allowing users to complete it quickly without unnecessary fields or long instructions.
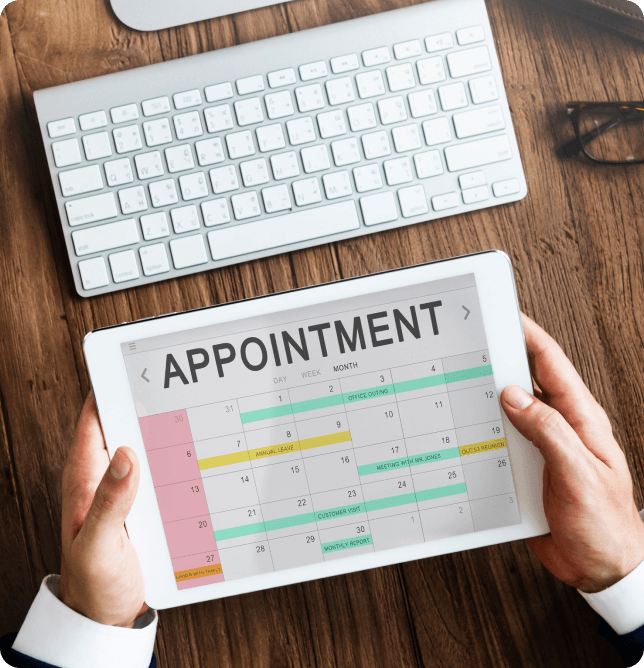
Beyond the basics, it’s essential to include confirmation and reminder features . Many people often forget to incorporate automatic confirmation or reminder notifications, which can result in users missing their appointments and higher cancellation rates. After users submit the form, be sure to send an immediate confirmation and offer the option for reminders, ensuring they don’t forget. Data privacy is another key factor that’s often overlooked. Users should know how their information will be used, and including a privacy policy or terms agreement will build trust and encourage users to complete the form.
Part 2. 10 Tips for Creating Online Appointment Request for Surveys
Tips 1. Clear and Descriptive Title
The title is the first impression participants get from the form, so it should be straightforward and make it clear that the form is for scheduling survey appointments. A simple, descriptive title will quickly draw in users and make them confident about the next step.
Examples: "Schedule Your Survey Appointment" or "Book Your Survey Participation Time Slot."
Measure: Use action-oriented verbs such as "schedule" or "book" to give participants a clear sense of what they are expected to do, minimizing confusion and increasing engagement.
Tips 2. Brief Survey Description
At the top of the form, include a brief but detailed description of the survey, ensuring participants understand its purpose, topic, duration, and any participation requirements. Please keep this section concise to avoid overwhelming users with too much information, but just make sure they clearly understand what they are signing up for.
Include: The topic of the survey, estimated duration, how it will be conducted (e.g., online, by phone, or in-person), and any specific eligibility criteria.
Measure: Highlight the relevance of the survey topic, especially if it's related to a popular issue. For example, "This survey will explore the impact of social media on the lifestyle of young adults."
Tips 3. Contact Information Fields
To ensure smooth communication throughout the process, collect essential contact information from participants. This typically includes their name, email address, and optionally their phone number for sending reminders or updates.
Note: Be transparent and reassure participants that their contact details will only be used for survey-related communications, building trust and reducing any privacy concerns.
Measure: Implement auto-fill suggestions (if supported) to allow users to quickly enter their email addresses or phone numbers, reducing time spent on form completion and improving the user experience.
Tips 4. Offer Clear Date and Time Options
Use a date picker or time slot system that allows participants to choose a suitable time for their appointment. Make sure to avoid double-booking by automatically disabling already filled time slots to prevent confusion.
Tip: If possible, offer flexible time ranges (e.g., morning, afternoon, evening slots). Also, consider automatically syncing the appointment with participants' calendars (like Google Calendar or Outlook) for added convenience.
Measure: After a participant selects their time slot, display the remaining available time slots dynamically, avoiding conflicts and repeated bookings. Additionally, using scheduling software to add appointments to participants' calendars automatically is a big plus.
Tips 5. Send Reminders and Confirmation Notifications
To ensure participants remember their scheduled appointments, offer a reminder feature. Ask if they would like to receive reminder notifications and let them choose their preferred method of contact (e.g., email or SMS).
Measure: Once an appointment is booked, send an immediate confirmation message containing all the necessary details (e.g., appointment date, time, and location). For example: "Your appointment is confirmed! Please join us on XX at XX."
Note: For reminders, allow participants to choose a reminder time, such as 24 hours or 1 hour before the appointment, ensuring they don't miss their slot.
Tips 6. Include a Participation Consent Section
Include a section where participants must confirm their consent to participate in the survey and acknowledge how their data will be used. This step ensures transparency and allows your survey to comply with data privacy laws and ethical standards.
Measure: Use a simple checkbox for participants to confirm their consent. For example, "I agree to participate in this survey and understand my data will only be used for research purposes." Additionally, include a link to your privacy policy for further clarification.
Tips 7. Survey-Specific Eligibility Requirements (If Applicable)
If your survey has specific eligibility criteria (e.g., age, profession, or location), include relevant questions in the form to ensure participants meet those requirements. This will prevent unnecessary follow-up and ensure you gather accurate data.
Examples: "Are you over 18 years old?" or "Do you reside in [region]?"
Measure: Use simple multiple-choice questions or conditional logic that automatically ends the process and provides an explanation if participants don’t meet the requirements.
Tips 8. Additional Information Field
Provide an optional field for participants to leave any special requests, questions, or comments. This offers flexibility and allows participants to communicate any concerns or preferences they may have.
Effective Measure:Although not mandatory, gently prompt participants to fill out this field if needed. For example: "If you have any special requests or questions, feel free to leave them here."
Tips 9. Terms and Conditions/Privacy Policy
Include a link to your privacy policy or a brief note about how participants' data will be handled. This step fosters transparency and builds trust.
Examples: "Your information will only be used for scheduling and conducting this survey." or "Click here to view our privacy policy."
Measure:Place the link or note prominently on the form, and use clear, simple language to avoid overwhelming participants with legal jargon.
Tips 10. Choose a Platform or Tool
Google Forms or Microsoft Forms: Basic form creation.
Calendly, Doodle, or SimplyBook.me: Designed for booking appointments with scheduling features.
iMyFone QRShow Form: A specialized tool that can create forms with QR code integration for easy sharing and scanning.
- QRShow Form seamlessly integrates form creation with QR code generation, streamlining data collection and analysis, which significantly boosts efficiency.
- Compared to standard survey form collection software, as a specialized QR code tool, it not only offers basic functionalities but also excel in QR code design customization, online form content updates, and advanced data tracking & analysis.
- The dynamic QR code ensures that you can update form content without the need to generate new QR codes, making the process more convenient and flexible. Click the button and try it out.
Part 3. How to Get an Appointment for Survey Via Online(+ Free Template)
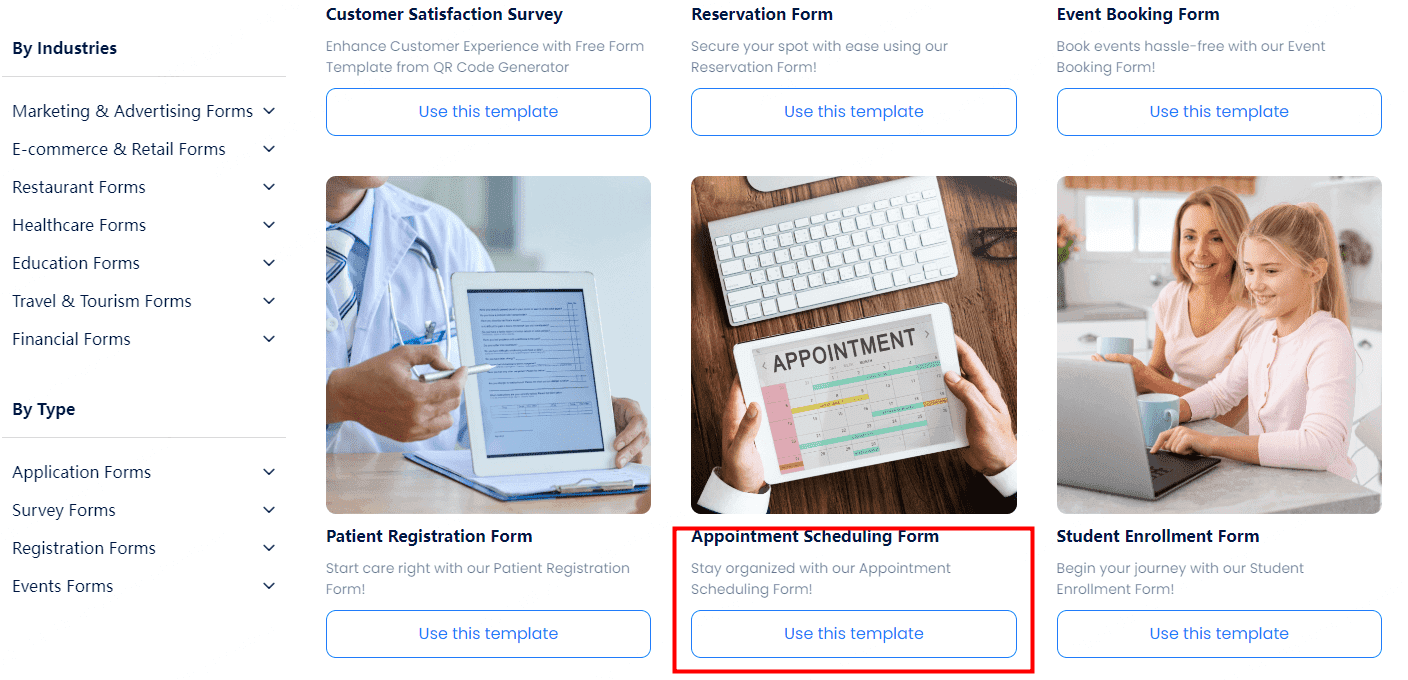
STEP 1. Choose a Form Template
Select the "Appointment Scheduling Form" from the variety of available templates. Click "Use this template," and follow the instructions to sign up and log in to start using it.
STEP 2. Modify & Customize the Form Content
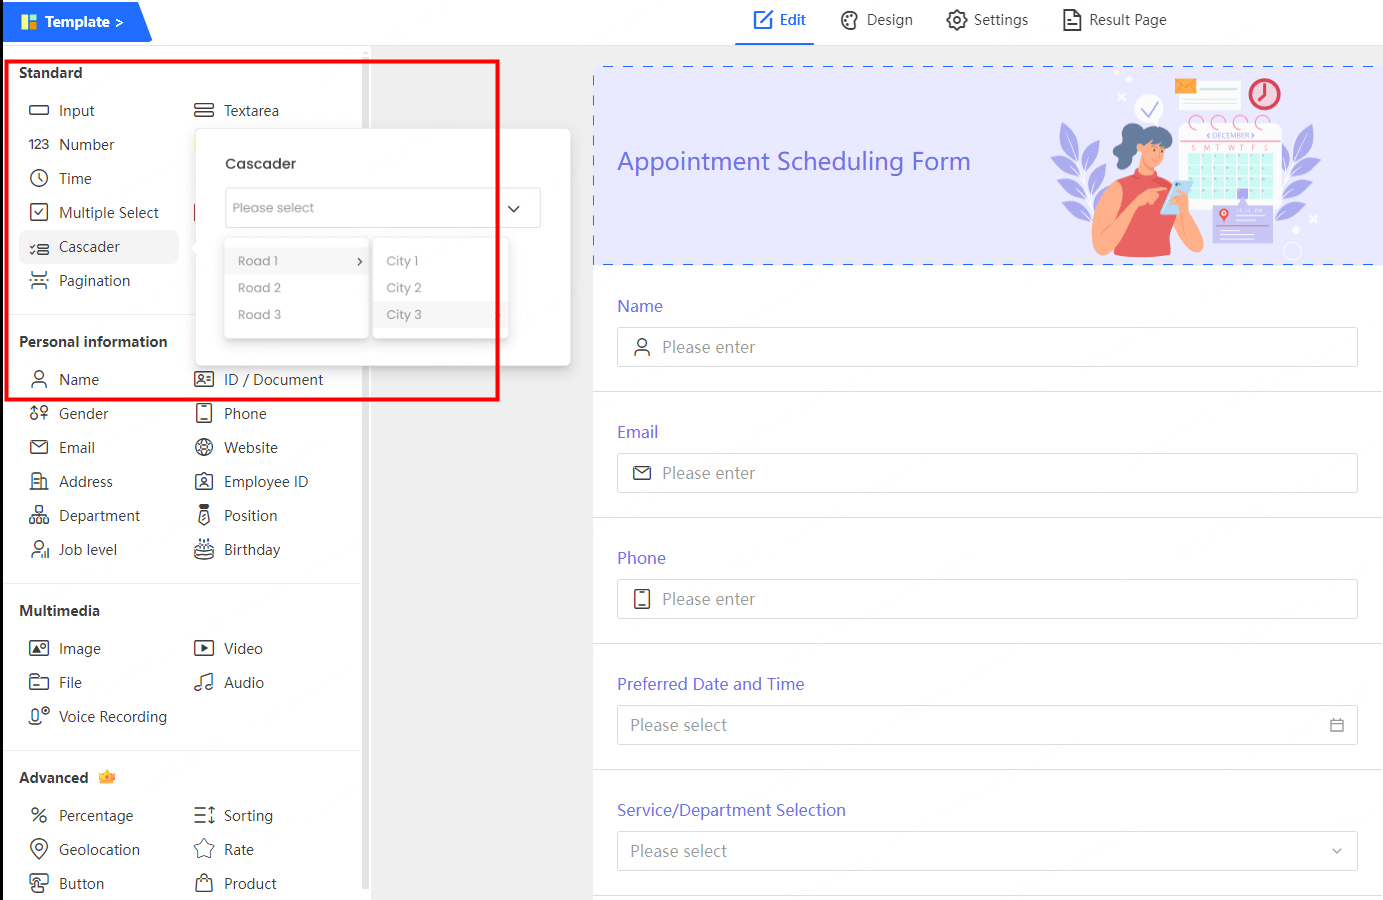
The template automatically includes basic fields such as name, phone number, and appointment time.
You can modify and add content based on the tips mentioned above to better suit your needs. Simply click the module you want to add on the left side of the dashboard, then edit the text on the right.
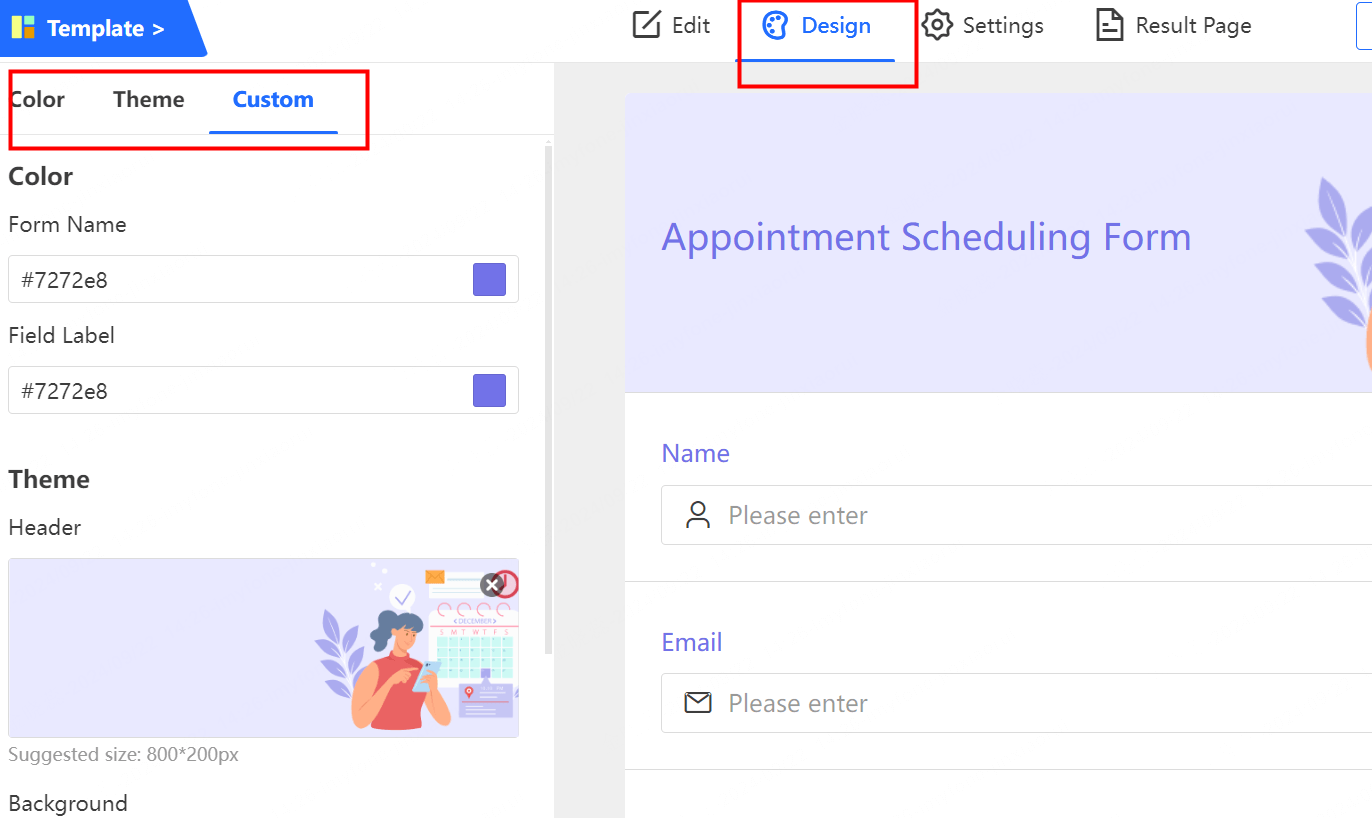
STEP 3. Design the Form Style
After setting up the content, you can customize the form’s colors, theme, and other design elements.
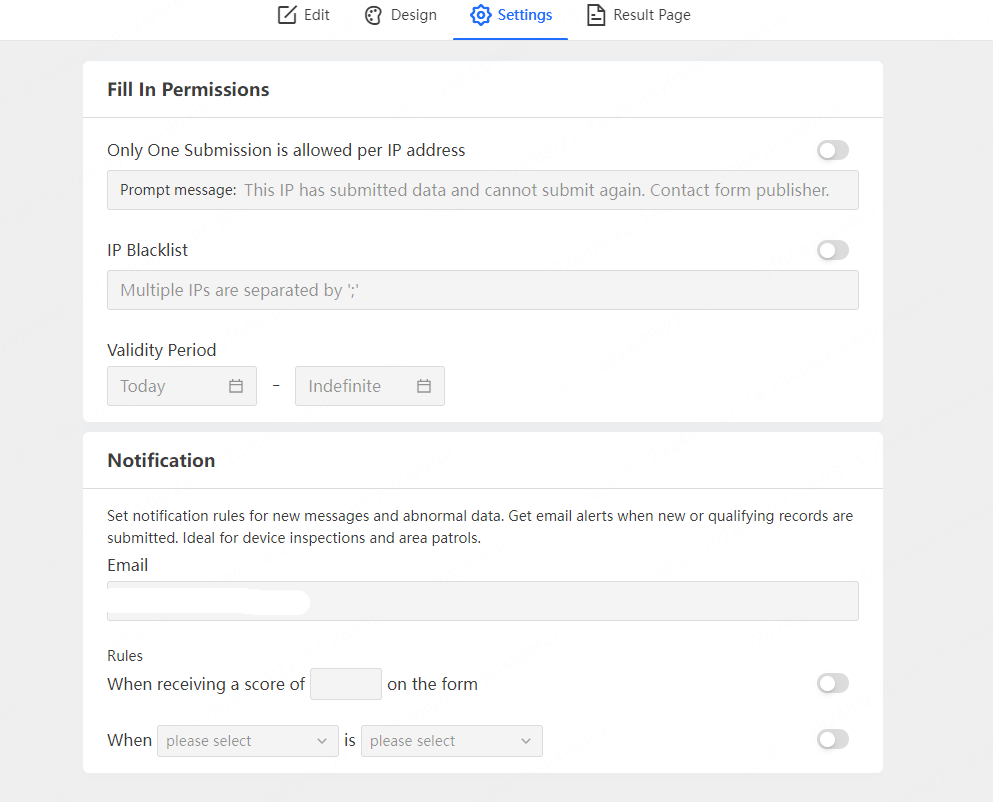
STEP 4. Set Permissions and Save
Adjust the form’s access permissions and set up email notifications as per your needs. Then click save.
STEP 5. Generate a QR Code for Easy Sharing
A pop-up will ask if you want to generate a QR code. Click "OK," and you'll be automatically directed to the QR code editor page.
Select "Next," follow the prompts to design a QR code that fits your brand’s style, and then click "Generate."

STEP 6. Share the Form
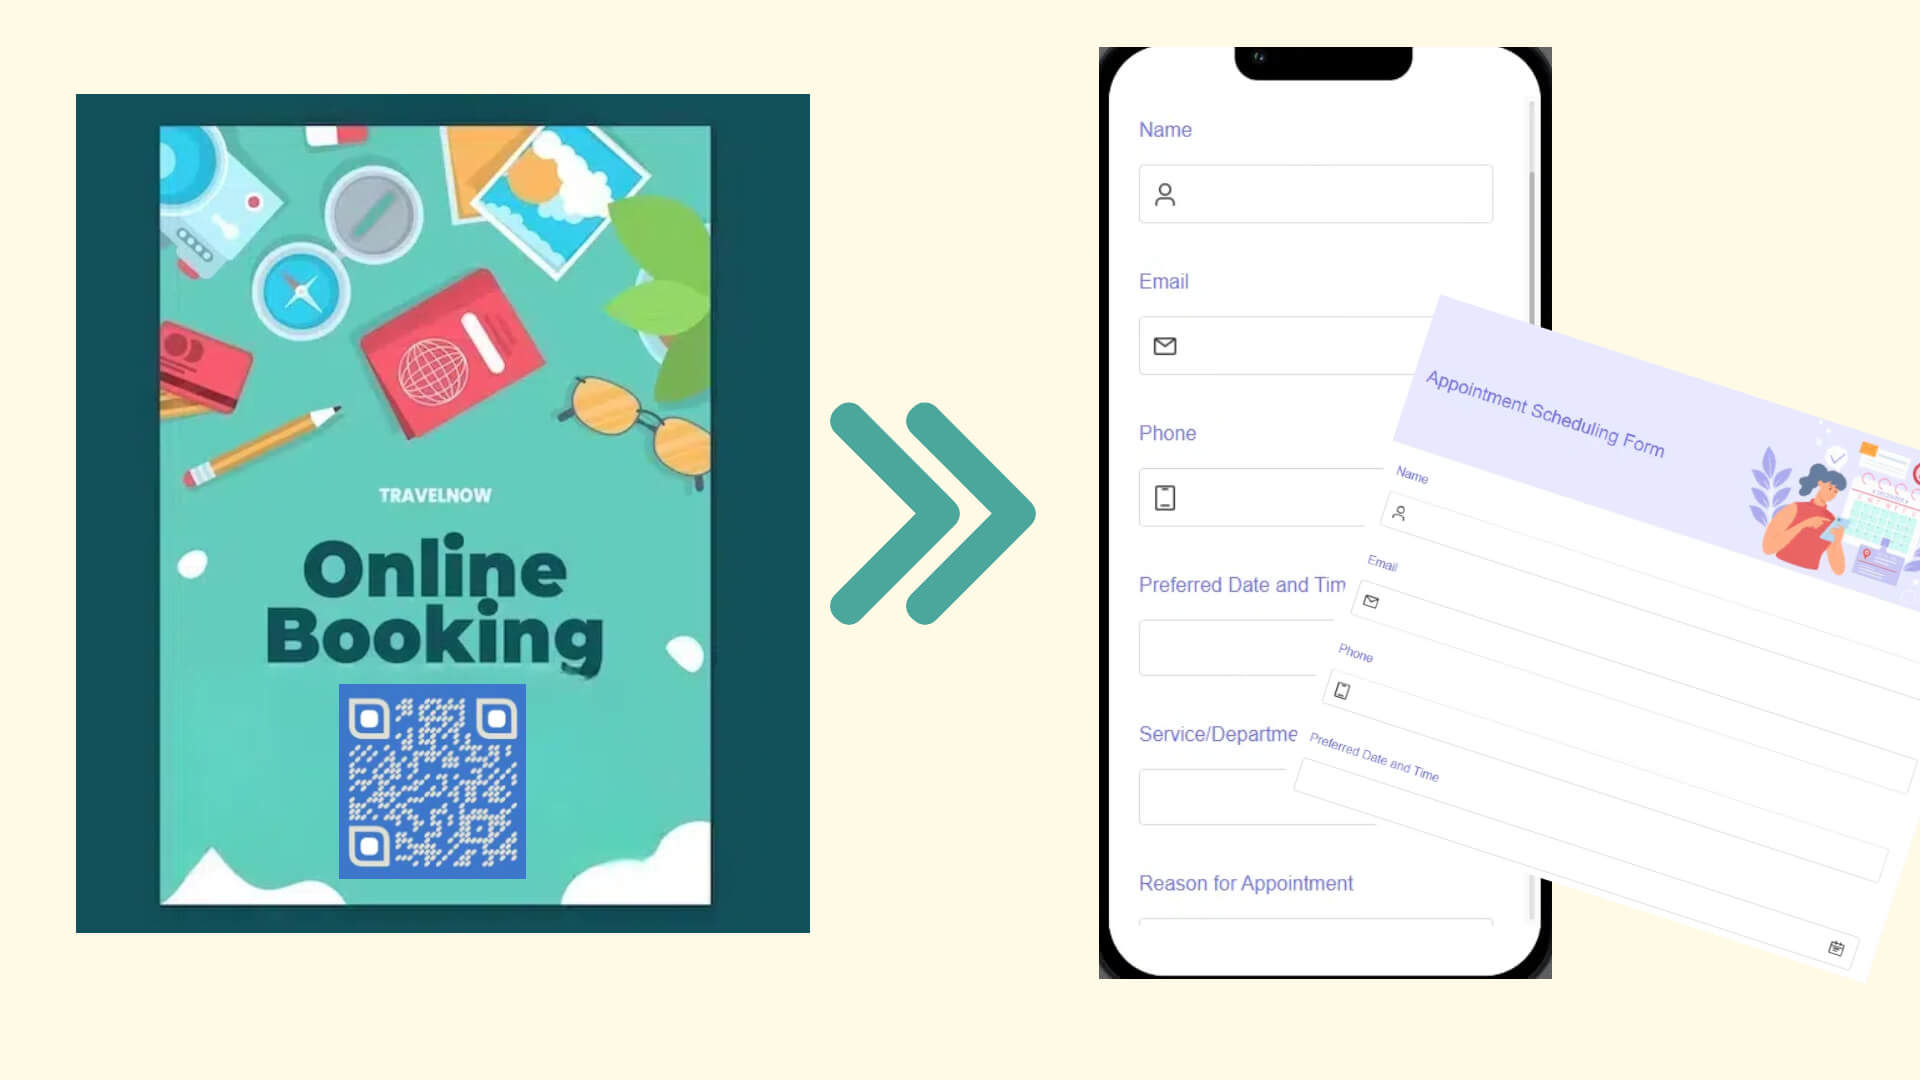
Once your form is ready, share it via email, social media, or your website. You can use the QR code on posters, flyers, or digital marketing materials to reach more participants. Try it now!
Conclusion
Creating an online appointment request for surveys simplifies the scheduling process, improves efficiency, and enhances the overall participant experience. With tools like iMyFone QRCode’s form, setting up and managing survey appointments becomes a hassle-free task.





Rated Successfully!
You have already rated this article!